BizzasCPU springs to life v2.0

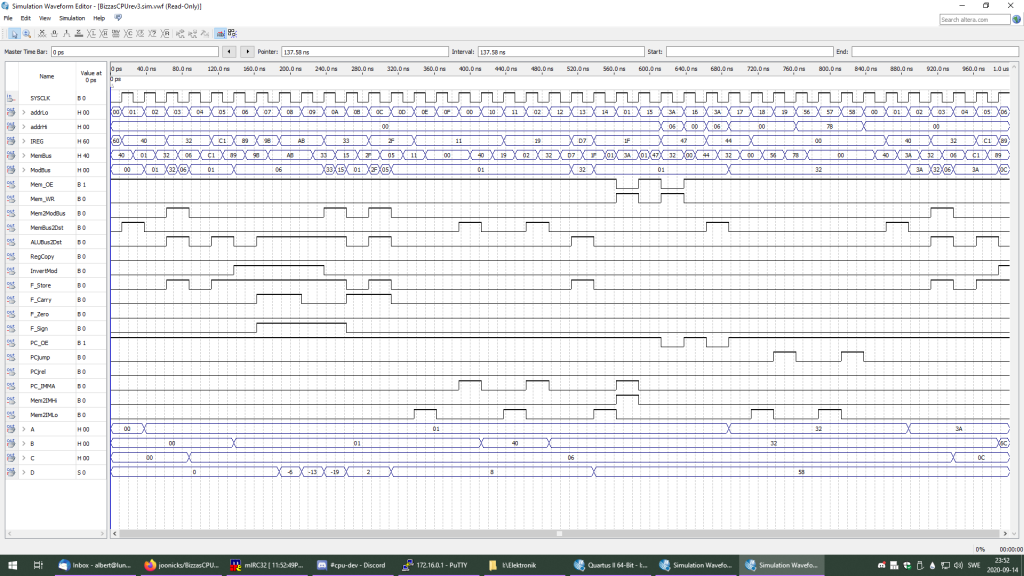
After two years of developing and simulating, BizzasCPU today took the step into actual hardware. The first ever upload into an actual FPGA started the parade of blinking LEDs and established that it works quite well. In fact the first run was so fast that it needed to be slowed down by a factor of 10,000 to be able to verify without a doubt that it is fully functional and operates as expected.

The host FPGA was a Terasic DE10-Nano development board and the operating frequency was 12.5MHz. The frequency however can most likely be bumped up significantly, if needed. The BizzasCPU design has much higher MIPS per Clock compared to a 6502 or Z80, but instruction complexity is somewhere inbetween, being more versatile than 6502, but less than a Z80.

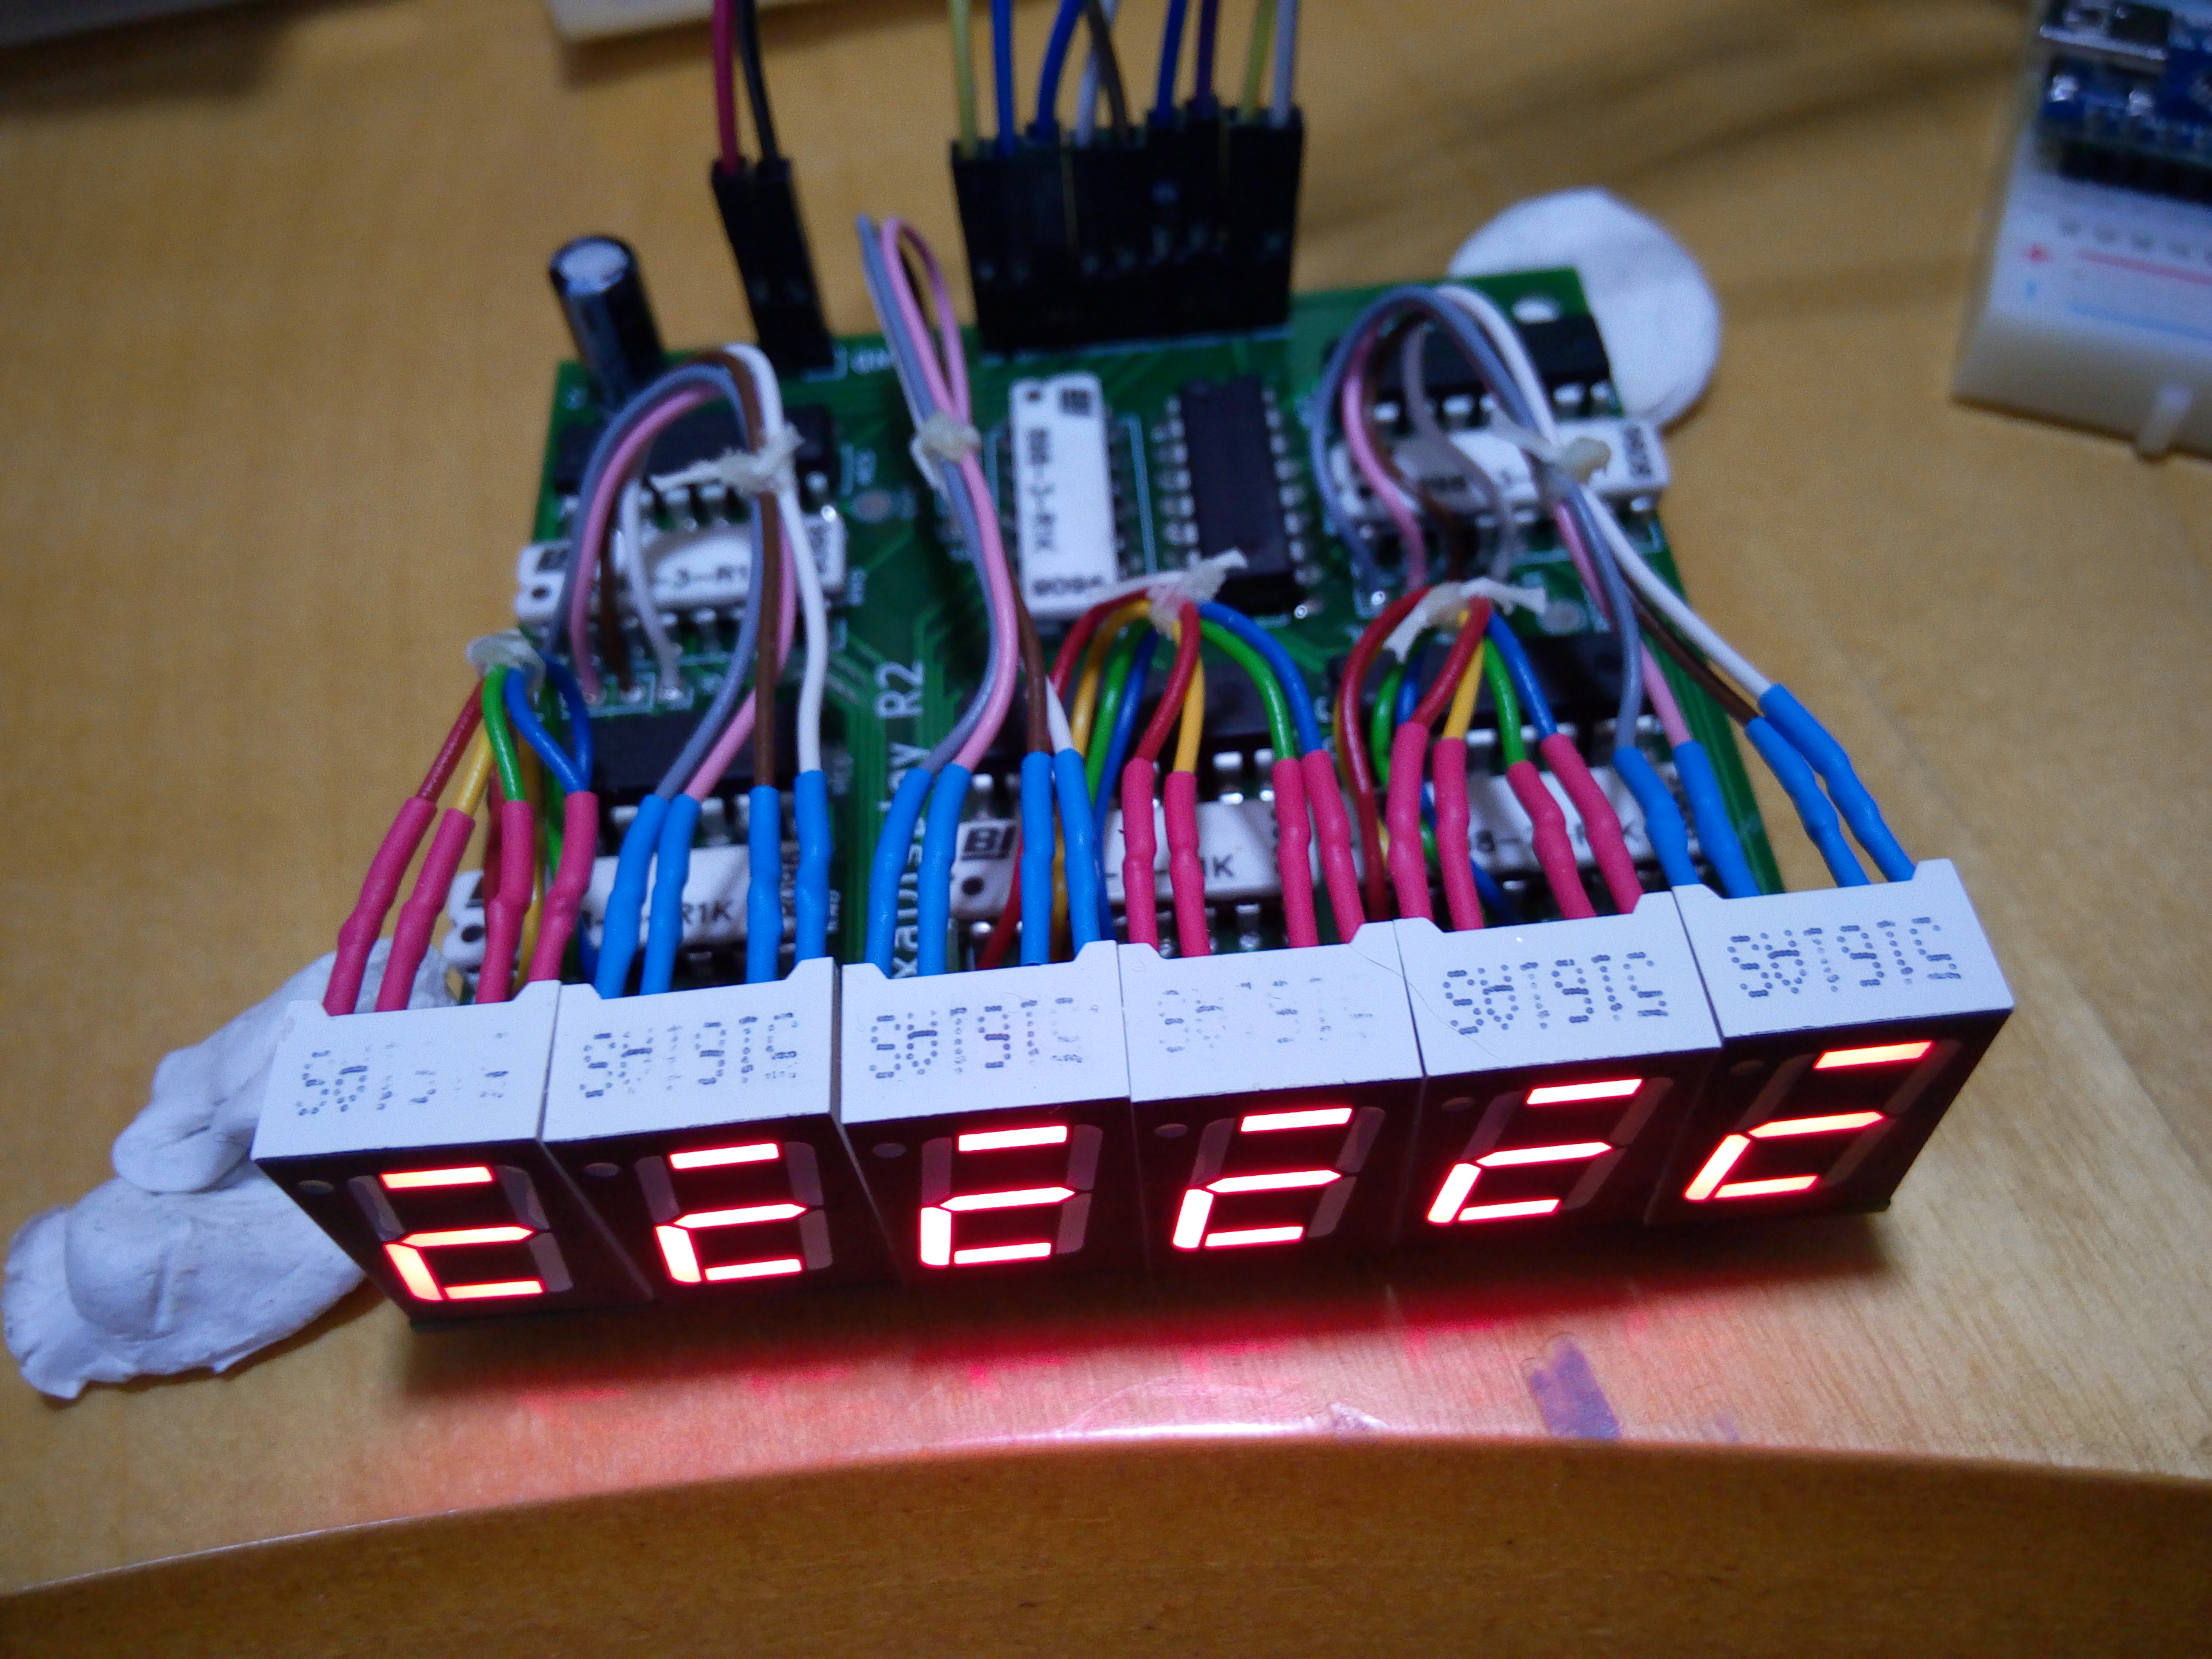
Now follows the need for a proper assembler and more IO to make it more fun to play around with. Just 8 LEDs blinking is not the most inspiring.

Of course it will now be fun to run around bragging about my very own CPU design. Future will tell if anyone ever notices.

BizzasCPU springs to life

Around the beginning of September, I resumed work on my old CPU project that had been collecting dust on github. After about 10 days work, I reached a point where I started implementing the logic for instruction execution.

The more simple instructions were all added and verified quite quickly. Last ones to be implemented were JMP and memory access instructions. JMP instructions actually turned out to be extraordinarily simple logic.

It currently compiles into less than 300 logic elements, so it is a very simple (8-bit data, 16-bit address) CPU design.

Here is what it looks like running in simulation software:

It still hasnt been tested on FPGA hardware, hopefully that day will come before more years pass. I just ordered a Terasic DE10-Nano which has more test hardware built onto it, which should make debugging easier.

For more details on BizzasCPU, check out the github repository: https://github.com/joonicks/BizzasCPU

How I got a free Rigol

I havent spent big cash on my own hobbies for years now, but last year I finally decided that I wanted a proper bench oscilloscope instead of the USB scope I had bought earlier.

After doing research, I settled on a Rigol DS1054Z which would cost me about $450, plus a more proper multimeter than the 30 year old chinesium on I had since my teens.

rigol

So I placed the order and waited. The multimeter arrived, but not the Rigol. And waited…. And waited….

About 2 weeks later, I called the company and told them the scope had not arrived. They said they would ask the postoffice to do a search and for me to wait 5 more day. So I did, but still no scope arrived.

I called the company back and they said they didnt have any more in stock, so they would refund me. They refunded the whole order, including the multimeter.

Two days later, the oscilloscope arrived….. 🙂

First PCB

I spent many days designing this PCB, at first several times over in Eagle, but could never get the gerbers to work. So I switched to KiCad, where atleast the gerbers was no problem.

I was very hesitant at first, but eventually sent it off to JLCPCB to have it made.

first_pcb0

I know that it is overengineered, but I wanted a flicker-free display where each digit is completely controllable and can be individually addressed. Also wanted the LEDs to shine with the same intensity regardless of how many of them are lit.

It turned out just like I wanted. Nothing at all wrong with the PCB.

clock3

Lately I’ve gone ahead and designed and ordered two more. One dual-channel noise source and a rough draft Z80 prototype board. They have not yet arrived but I expect them within a week or two. I’ve already gone ahead and designed yet one more, but I’ll delay ordering it until I have more designs to order along with it.

Maybe I’m on my way to becoming a PCB master….